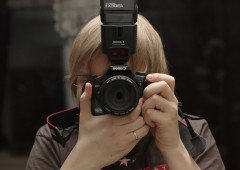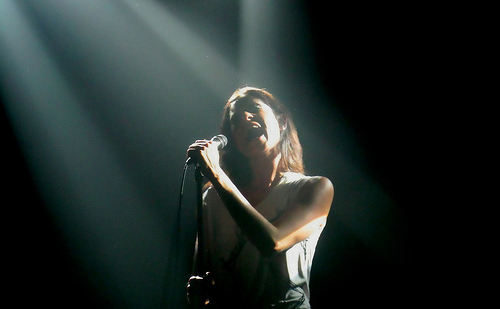
On-camera flash or the built-in flash is the most convenient source of light while photographing. It is a compact and easy to use light source in low-ambient light. The built-in flash is the appropriate alternative for getting the right amount of exposure in low-light.
Even though it is a good source of light and your DSLRs are smart enough to use it under low ambient light; it probably has its own set of limitations, problems and quirks. Red-eye, limited reach, washed-off details, flat & shadowless images and reflections off the shiny surfaces are some of the most prominent ones.
The limitations and problems encountered by in-built flash in no way undermine its benefits. Understanding and learning to use in-camera flash appropriately is the secret to great results. Flash has several uses. It can be used as a primary source of light when the ambient light is almost negligible, it can be used as a secondary source of light to fill up the shadow areas or it can be used to balance the ambient light (eg. when you are shooting against the sun).
You can create interesting and dynamic effects in your photographs by using flash and therefore, by understanding the mechanics of the flash. Here are some factors which affect the flash photography and impact the photographs taken with flash turned on.
-
Intensity of flash
The range of built-in flash is approximately around 3-5m depending on the intensity of the flash unit and the camera make/model. The intensity of light output from a flash unit depends on the size of the capacitor and the voltage required for the unit to work. In simple words, the intensity of flash unit is determined by the battery power.
-
Flash modes
Understanding the various modes of flash is crucial to its implementation in photography.
- Auto-mode: When set at the auto-mode, the DSLRs fire-up or pop-up the flash as and when it senses low-ambient light. This helps to light up the subject and create a more even lighting.
- Fill-flash: Fill-flash is provided to forcefully turn-on the flash; to lighten up the shadows in the image in addition to the light from the primary source.
- Slow Sync Mode: The slow sync mode is appropriate for indoor-shooting. It provides ground for filling the background with natural lights as viewed by the human eye; which will otherwise be dark and unnatural. In this mode the flash fires for a longer duration. This mode is used for night shots. During this lengthy duration when flash is on, there are two additional modes which can be engaged for different effects. Note that these are not a sub-type of slow sync mode but are merely considerations for long exposures.
- Front Sync Mode: Considering that the shutter remains open for a certain duration, in the front-synch mode the flash fires as soon as the shutter opens, the flash then goes off and finally the shutter closes to complete the exposure. This freezes the subject in the initial part of the exposure (the light being the strongest due to the flash) and the subsequent movement of the subject results in a blur creating an unnatural effect. This generally is the default mode on most cameras.
- Rear Sync Mode: In this mode the shutter opens and right before it is about to close the flash fires to illuminate the scene. This freezes a moving subject in the final instance of the exposure. Thus in this case the blur follows the subject (which looks more natural).
- Red-Eye Reduction Mode: Red-eye reduction mode is their to help you in reducing the red-eye effect in your photographs. The camera in this mode fires a continuous bright light to allow the iris of the human eye to close before the shot is taken. Due to the intricacies involved, the results often vary and are disappointing unless used properly.
-
Sync speed
Sync speed is the fastest shutter speed which can be used when using flash. At a certain high shutter speed (depending on the camera) the shutter blades move very fast and in close proximity to each other with one following the other. At the synch-limit, this distance between the two shutter blades becomes smaller than the camera sensor. When the flash fires, only the part of the sensor which is exposed at that instance gets to capture the light and the other parts of the frame are dark or dull due to the lack of ambient/light/flash. Synchronizing shutter speed with flash is of utmost importance for capturing the entire frame; even at high shutter speed.
Understanding the on-camera flash is the key to making better use of flash and to avoid unwanted artifacts and effects created by it. Used properly, flash works as a very effective and handy light source. Watch out for our upcoming article covering how to make the best use of flash.


I have an old Bogan monolight 400B that I want to use with Nikon D200 and SB600 flash. I have a Nikon 4765 SC-28 TTL 9-ft. Remote Cord, as well as a Wein HSHSB Hotshoe to hot shoe safe sync unit. Can this be all hooked up for head shots/ head & shoulder portraits?
Any suggestions? I have never used the monolight with a digital camera before, I always used film cameras for the Bogen light.
Thank you for any ideas