Framing the shot in still photography is as important as composing the scene. While composition refers to the arrangement of visual elements to fill the photographic frame in an attractive manner, framing the shot means adding an element of interest to your images — the frame itself.
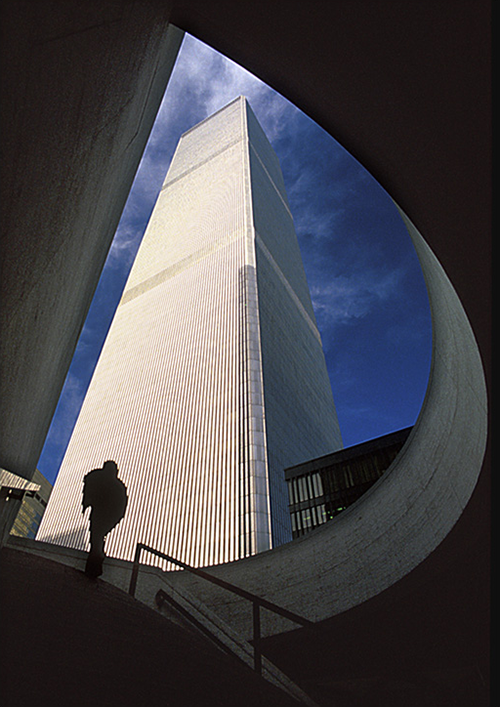
Shooting through the window, doors, archways, spiral staircases are some of the tried and tested ways for framing the shots. You can however employ your creative ideas to compose the shots with a difference. Look out for natural frames, compose around the water splashes, shoot through the crowd of people, use the hands, legs or shoulders or simply compose the shots around the design principles (like selective focus, differential contrast, negative space, etc).
Framing does add an extra dimension to your photograph. It attracts the viewers attention towards the center of the interest and saves the viewers eyes from wandering out of the frame. But that doesn’t mean that we always need to have a complete frame around the subject. Incomplete frames are more intriguing and leave space for viewers to weave the story around the capture. It all depends on your perspective to make a difference to your images by introducing the frames. Here are some common as well as not so common ways of framing the shots.
1. Employ blur as a frame
Employing shallow depth of field to give the selective focus effect can also work great to add a frame to your image. This technique leads the viewer’s eye to the elements that are in sharp focus and the blur acts as the frame.

2. Balance
Balancing the scene can also be a great way to frame the shot. Placing the subject in the center with symmetric background helps in leading the eyes to the center of interest.

3. Negative Space
Negative space can also be used as the most thought out idea for framing the shot. The human mind negates the space around the subject which works best in pulling the eyes towards the positive space — the space occupied by the subject itself. So in this case even when there is no physical frame around the subject, the subject still stands as framed.

4. Colors and Textures
Ever tried using the colors and textures to act as the frame. Take the inspiration from the following image.

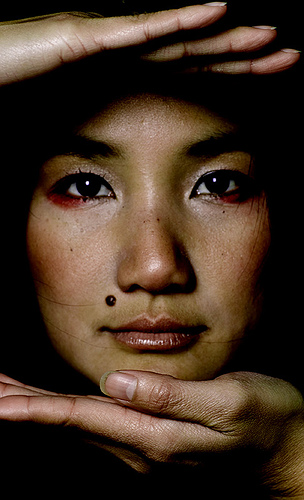
5. Use Your Hands
You can also use your hands to frame yourself. That gives a sort of caring appeal and hence reflects romanticism.

6. Shoot Through Windows
Try to shoot through the windows (not Microsoft Windows) to add frames to your photos.

7. Shoot Through The Doors
Try to shoot through the doors to add frames to your photos. This directs the viewers’ eye to the focal point.

8. Shoot Through Branches
Shoot through the overhanging branches and see how framing effect adds to your shots.

9. Look Around For Naturally Existing Frames
Look for natural frames before you take a shot. The elements to frame the subject are present all around us, we simply need to look and think out of the box.

10. Photoshop It
One traditional way of framing is to put the photo in a wooden frame. Now a days such effects can be added by software itself, which adds a frame (textured or plane) of different colors all around the perimeter of the photo. You don’t need to add four sided frames always, many a times two sided frames work great.

11. Be Experimental
Use your creativity to create frames in the shot. Try to implement every idea that pops up in your mind, because ideas are worth spreading — what better way than communicating it through your image.

Framing effectively helps in cropping the unwanted elements. Try different angles, shoot through overhanging branches, through windows and doors, use people, shoulders, head, legs. But before taking a shot ask yourself whether framing will add to your image or will distract the viewer from the center of interest?
Here the thing to remember is that framing is as important as the composition is. So pick up your camera and get ready to frame the shots and don’t forget to share them with us…

