Of late I have been reading a few professional photographers. As much as it reveals the secrets of making good pictures, it also gives you an insight on how pros make the images that simply click; the pictures that simply resonate with viewers. One thing that is common among the masters of photography is the art of composing the frame; the art of thinking in terms of composition. The way they position and place various elements in the frame makes all the difference. I got a chance to sneak peak at the various compositional techniques used by professional photographers and thereby I decided to compile a list of exercises to help you create the images that naturally draw the human eye.
Exercise 1 — Learn To See Purely In Terms Of Composition
Learning to see is fundamental to developing the photographer’s eye. Look around yourself, observe the various elements in the scene and discern the inherent details of the scene. View and review the scene. As you do so you discover a lot of passive things which never seemed to exist in the first place. Train your eyes to look at the scene in totality. Think lines, patterns, balance, guiding the viewers’ eye, point-of-interest and simplicity. Look at the book shelf aligned to your work space for instance. Pick up one book from the bunch and see it in respect of other books, view it in respect of the beautifully carved shelves or see it in respect of the wooden texture. Looking at things around you in this manner eventually lead you in discovering an interesting image from the ordinary scene.

Exercise 2: Establish A Relation Between The Subject, The Background & Other Elements
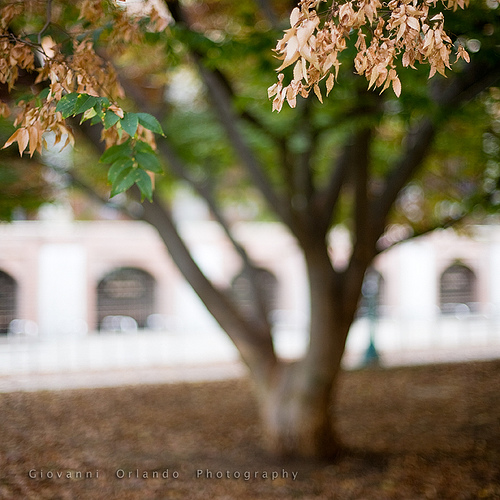
Now that you have picked up the scene, choose the subject and view it in relation to the other elements in the scene. Let’s take the example of bookshelf a little further. I would love to highlight Nicholas Sparks’s A Walk To Remember as the subject while blurring the rest of the books on the shelf to form a beautiful bokeh. This forms a story in itself. It suggests that while I love to read the books, this book is special to me. Take another example. This time lets try to photograph a musician performing at the concert. While the musician will be your subject, the entire band (the instruments and the players) acts as the background and the low lit stage forms the ambiance for the scene. You can compose the scene in many different ways; either simply compose the scene with the entire stage in sharp focus or slightly blur the background to add context to the subject. Anyways, its your call how would you like to capture the scene.

Exercise 3: Practice Geometry
I came across this quote by Henry Cartier Bresson on one of the photography forums. It reads:
The only joy in photography is geometry. All the rest is sentiment.
And well it is quite to true. You can easily relate to the pictures of your friends, family, pets — the cute subjects or else it is the geometry involved in the image that plays upon the trick of attracting the viewer’s attention. Think about it! Lines lead the eye from one part of the picture to another, symmetry works at its best to create harmony, arcs and curves add dynamism to the scene. Then there are bold geometric shapes like squares, triangles, spirals which act as the point of interest in the photograph. Not to forget the S-curves here. All these elements work well for pulling the viewers eye to the point of interest, giving the sense of direction and to a greater extent work well as the subject themselves. So get on it and nail the composition by practicing geometry.

Exercise 4: Intentional Off-Center
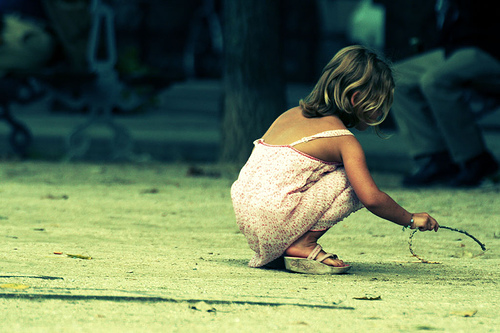
Quite many times, placing the subject in dead center makes the image look dull and boring. Try placing it off the center and yes, it works! But there is a small caveat to it. If you place the subject slightly off-center it looks like the photographer’s fault. So when you are at it, make it a deliberate act, i.e, place the subject either along the golden mean or in the thirds. (More about divine golden mean and aesthetic rule of thirds here). This will naturally draw the viewers eye towards the center of interest.

Exercise 5: Try To Replicate The Art Of Masters
Ansel Adams, Henry Cartier Bresson, Jay Maisel have made beautiful photographs. Pick some of the pictures shot by them and try to replicate the compositional ideas implemented by them. It’s perfectly all right to copy the ideas of the masters. When you do so, you learn a lot of new things about how composition matters in making good images.

Exercise 6: Think In Terms Of Black And White
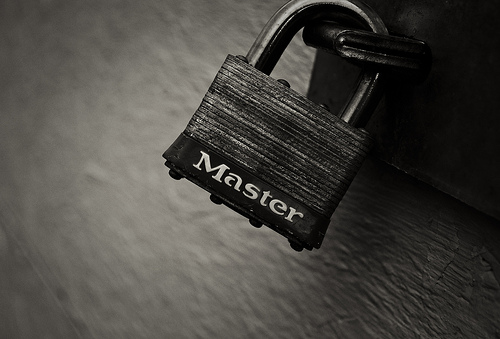
Don’t let the colors deceive you. While peppy, lively colors do form a part of strong composition, it is more about arrangement of various elements, shapes and forms in the frame. All these things start making sense when you learn to visualize in black and white. Visualizing in black and white helps you in composing the scene in terms of beautiful tones, highlighting textures, pronounced shapes and an extra depth in the scene. Time for a pro tip: Don’t shoot in black and white. Instead shoot in color and see the image shaping itself into marvelous piece of art in your image editor.

Exercise 7: Chant Those Composition Mantras To Yourself
While there are no hard and fast rules to it, there are a number of compositional elements and guidelines that work in most of the cases. Placing the subject off-center for instance or balancing the visual weight of various elements makes your images come to life. When you position and place the elements in the frame by following the composition guidelines, it automatically attaches a visual appeal to the final image. That is why, chanting or reminding yourself of the various compositional elements can greatly help you in improving the way you compose your shots.

Exercise 8: Work The Shot
I’ve mentioned this earlier as well — the professionals get the images they want by working the shot. Working the shot is the technique of discovering the image. Compose and re-compose the shot perhaps by changing the angle of view, by zooming into the scene, getting closer, subtracting the elements or re-arranging the elements in the scene till you arrive at an image that satiates the artist within you. How about trying it out? Check out the article on how to work the shot here.

Exercise 9: Practice It Alone
Any form of art, be it the writing skills or the painter’s imagination, requires a lot of concentration to give shape to the final piece of artistry. This focus and concentration comes by your way when you practice the art and that too alone. You cannot socialize and practice your art all at the same time. Keep the distractions off the place to keep focus on what matters — the art of composing the elements in the frame.

Exercise 10: Trace Your Eyes Around The Edges
When you look through the viewfinder, trace your eyes around the edges of the frame before taking the final shot. Make sure that all the important elements of the scene are precisely defined within the edges of the photograph. Sometimes the minute details alongside the edges of the photograph may act as the distraction. Do away with it if that’s the case with some of your pictures. While you cannot go and re-shoot the scene, you can always crop the final image to give it more finished and refined look in your digital darkroom.

Exercise 11: Give Yourself Assignments
Practice makes the perfect, an age old adage holds true here as well. The more you practice, the better you are at your stuff. And the simple exercise to get along with composing good photos is to giving yourself the photography assignments for practicing various compositional elements like lines, textures, color, repetitions, symmetry, rhythm, rules of thirds, golden mean and the likes. Start with practicing these ideas discretely and later combine the ideas to come up with interesting and unique compositions.
How do you nail the composition?

