This is a guest post by Nick Vinken. Nick Vinken is a photographer / videographer based in the Netherlands. On his website photographygearguide.com, he shares valuable advice for starting photographers and filmmakers. He mainly discusses gear considerations, but also publishes tips, tutorials and informational articles.
Depth of field (DoF) can be a difficult concept to grasp, but if one understands a few basic concepts it becomes a lot easier to understand and to control. Knowledge of these concepts will help you in improving your photography skills.
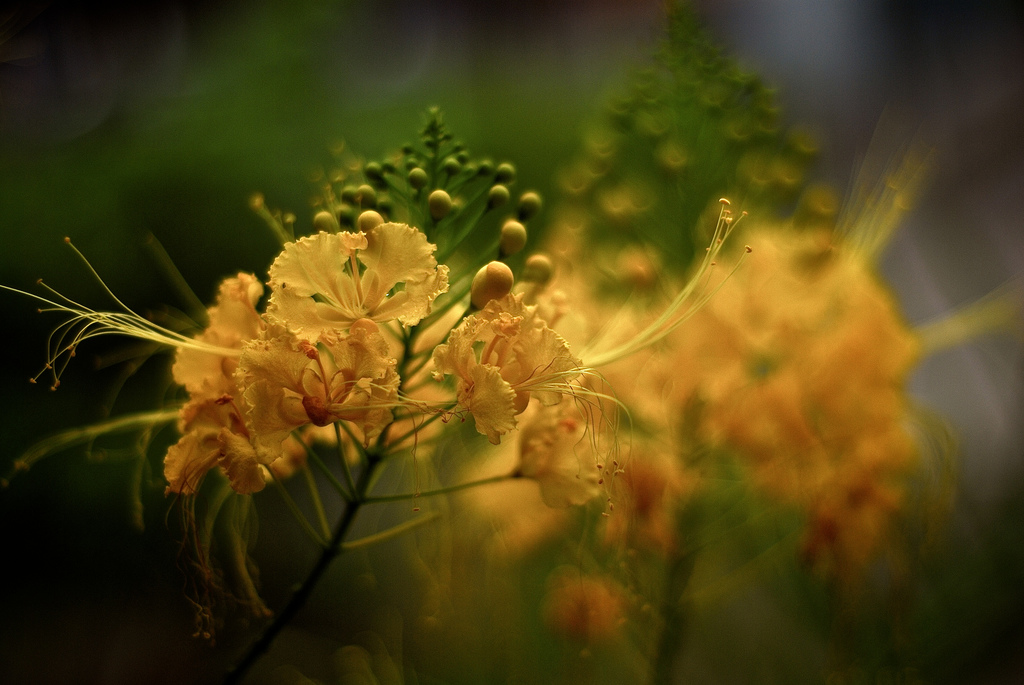
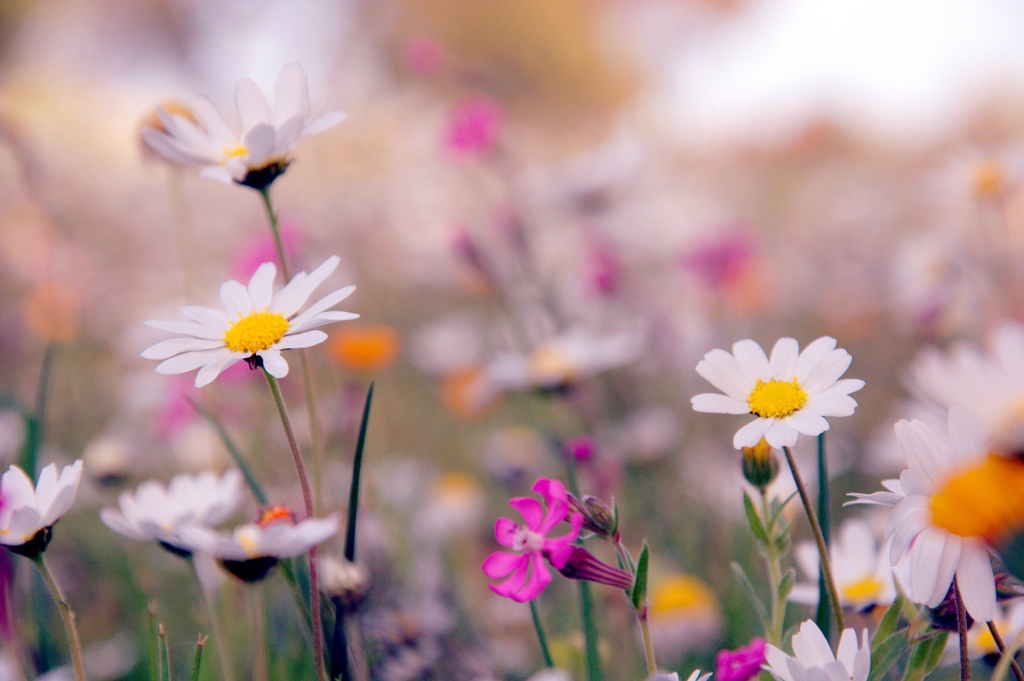
Using a shallow depth of field is a powerful tool that you can use to isolate the subject in your frame (either from the background or the foreground). It is a popular style in portrait photography, macro and wildlife photography (among others). When you use a longer depth of field, a larger part of your image will be in focus. This is more useful in other types of photography, like architecture and landscape.
How do you get started with experimenting with “Depth of Field”?
Your camera’s lens will have some point at which it is perfectly focused. There will be a zone of sharp focus both in front of your subject as well as behind it. The zone in front is typically shallower than the zone behind the focal point. There will be a small amount of foreground not in focus, a larger area of background unfocused. Set your camera at A for aperture or M for manual and take control!

You must think about some of these factors as reciprocals to understand the depth of field. There are optical explanations, but you need not know them. The factors that can effect depth of field include:
- Lens aperture the size of the hole that passes light through a reciprocal number.
- Lens focal length the measure of how strongly the system converges or diverges light.
- Shutter Speed the duration for which the shutter is open to transmit light, a reciprocal number.
- Angle of View the width of the view or the scene that the lens can take in.
- ISO the sensitivity to light of the sensor or film.
- Sensor size how large the light sensitive sensor is (in terms of megapixles).
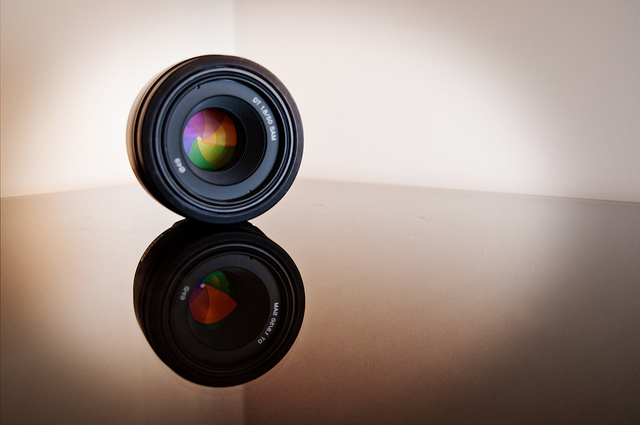
The Lens Aperture (f-number magic)
By setting the lens aperture to a lower number like ƒ2.8-4.0, producing a larger hole in the lens shutter, one creates a much shorter, more compact depth of field (DoF). The background behind the subject will be blurred. This is useful in emphasizing the subject to the exclusion of its surroundings. Especially useful in nature photography: birds, bugs, reptiles and the like-and in portraiture.
Depending upon the ambient light you may need to reduce shutter speed and/or ISO. Setting your aperture to a higher number, say ƒ/22, will produce a smaller hole in the shutter, and give a long depth of field. This is useful for landscapes and can also be used in a lot of architectural shots.
Focal Length and DoF
The effect of focal length on DoF is less dramatic than aperture, but a longer focal length provides a lower optical power and higher magnification. It also compresses the scene front to back, an effect some find desirable. It reduces the angle of view. Setting your zoom to a lower focal length will be associated with a wider angle of view and less DoF.

Other Settings
One may need to make adjustments in shutter speed and/or camera ISO settings to adjust the amount of light passing through the shutter.
Large aperture = more light, small aperture = less light.
So what can you do if your camera does not have these more advanced features? All may not be lost. Check your camera manual and if it has a scene selection group of settings you can use them. The portrait setting will have a shallower DoF, while the landscape setting will have more depth of field. Try these and see how that works for you.
About the author: Nick Vinken is a photographer / videographer based in the Netherlands. On his website photographygearguide.com, he shares valuable advice for starting photographers and filmmakers. He mainly discusses gear considerations, but also publishes tips, tutorials and informational articles.

