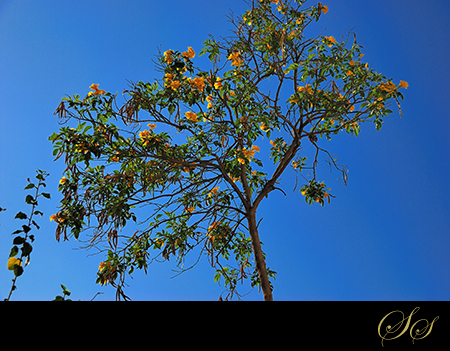
White Balance is one of the most neglected controls on a digital camera. You can tweak settings like contrast and sharpness etc. but most of us still choose to set the white-balance to auto. While white-balance is used to correct the color temperature of the pictures, it is a very powerful tool to manipulate your photographs for some extraordinary effects- or even more original for that matter. Take the following image for example. I shot it in on a clear blue late morning with my D80 set to auto white-balance.

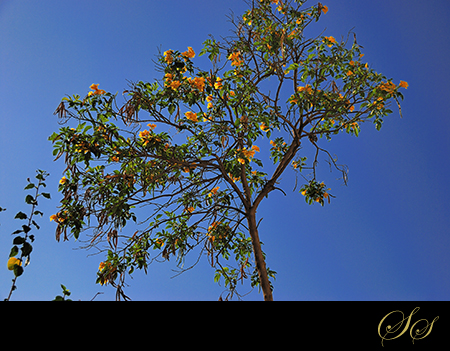
Compare the above to the following. See how the sky looks more neutral and the yellow of the flowers pops out. Done as a part of post processing, it’s best to neutralize white at the source or in-camera.

The reason this happens is that all cameras have different settings. Shooting under different kinds of lights changes white balance too. Thus the only way to get the perfect white balance is to painfully fix it during post-processing for every image.
Or, you could use filters depending upon the scene. That’s what filters are made for. When under a strong clear blue sky, you get cooler (more bluish) images due to the sky reflecting back on the scene. Depending on whether you are shooting indoors under the light you may get a warm color cast. These can be removed in-camera by using warming or cooling filters.
Welcome to the digital age. There’s another way to do it without filters. Depending on your camera you may have the ability to tune white balance and make it warm or cool. You can also do it in-camera as a post-processing step. Some cameras offer the ability to use a preset white balance or measure it in the scene.
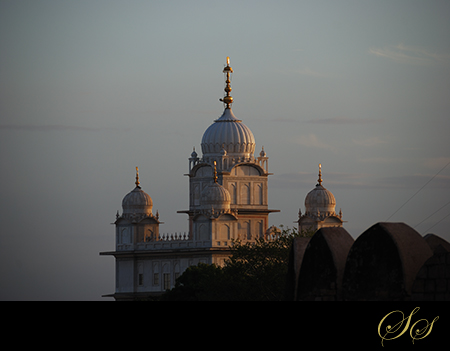
So far the main idea is only to neutralize the color temperature. However some of the surreal effects are often achieved by choosing a custom white-balance not in the favor of neutrality but to blow the colors to your preference. After all photography is not only a science but also an art – an art to visualize the results before you shoot photographs. Here’s another image I shot with my D80 in the evening. This temple is built of white marble and was already glowing warm during the sunset after a rain under red clouds. Pretty much everything seems fine. Shot under the magic light, the marble glows beautifully.

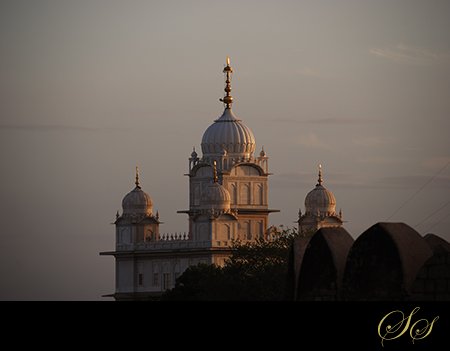
But this is not what I visualized to achieve under magic light. I applied a warm filter (85 ) in Photoshop. The glow is prof0und yet subtle.

Warming up the warm colors and leaving the cool ones alone is what makes Fuji Velvia 50 the world’s standard for nature and landscape photography.
Beware it is too easy to overdo this. Using filters to do it in-camera keeps things in check. The main idea is to know the effects of the light you are shooting in. To extend it further feel free to experiment and bring out results that are truly what you feel look great – it’s your art and expression after all.


Good article. I am one of the many you mention, never changing my white balance but am always adjusting the contrast feature. It would be interesting to see if this makes any difference to the printing, and it if helps you to save on printer ink, because obviously you are not saturating the images with so much colour as when the white balance is on auto. Have you seen any adjustments in quality of the prints?
I think I prefer the first photo of the tree… the colours are more vibrant.