The entire range of digital cameras, feature automatic flash firing (barring the exceptions). The digital camera’s TTL metering forces the flash to fire as and when it senses low-ambient light. Flash light has it’s own quirks and at times can completely ruin your photographs. Its scourging side effects wash-off the details and produce nasty effects. But used correctly, the flash is a handy and critical source of light a photographer has. It is therefore crucial to understand in-camera flash, its modes and its uses to make the most out of the compact and handy light source mounted or built-in your cameras.
-
Using Flash As The Primary Source Of Light
Depending on the make and model of flash, it tends to produce hard light (a major issue with smaller DSLRs and digital cameras) which is very unflattering. However when fired in the slow sync mode the flash fires longer and gives better and more natural illumination to the scene. This comes very handy for quick portraits or for photographing small groups of people at night. If you are using the correct camera mode, the camera will automatically set the correct flash mode too. In this case you must use the night portrait mode. But in case you want to override it with aperture priority, you can manually set the flash to fire in slow sync mode. Turn on the red-eye reduction when using flash for night portraits.
-
Using Flash To Compliment Ambient Light
The camera automatically fires the flash in low ambient light to illuminate the subject well for the camera sensor to sense it. Turn off the automatic flash and take control of it and decide yourself as to when the flash should fire. Try to avoid flash if you can arrange for some other light source. Using flash blows out the details and makes the photographs look dull and surreal. Multiple sources of light ensure that shadows are kept to a minimum. Using the flash as a complementing source helps in filling the shadowed areas of the photograph; the shadows created owing to the effect of direct and hard light. Appropriate use of flash thus helps in getting the balanced exposure in the final shot.
-
Balancing the Ambient Light With Flash
When shooting against a light source, the subject tends to get underexposed. This is due to the extreme light variations (the increased dynamic range). To bring the light levels under control you can use the flash to illuminate the subject. Turn your camera to fill flash mode when shooting under the direct light from the sun. Using the flash when shooting against the sun, fills the shadows and dark areas to result in the balanced exposure; and reduce the contrast in the final result.
-
Bounce The Flash (Directional Light)
Direct flash (or direct light from any source for that matter) always produce disappointing results. A far better solution for illumination is to bounce the flash off a surface — bounce it off ceiling, walls or anything which has reflective abilities. The bounce diffuses the light and softens it to illuminate the low ambient light without casting hard shadows. It may be difficult to direct the on camera flash however there are flash caps available which can be fixed to the front of the flash. These diffuse the light right at the source. Alternatively use an external flash.
-
Use Flash For Long Exposures To Produce Dynamic Effects
Set your camera to rear sync mode when photographing long exposures and movement. The camera in the rear sync mode fires the flash just before the rear curtain of the camera closes. It thus enables your camera to capture long exposures along with the trails of the subject or the lights following it; heightening the sense of movement and activity.
-
Avoid Auto Mode For Better Control
The camera in the auto-mode fires the flash whenever its TTL metering senses the low-ambient light. It fires the flash to illuminate the subject well for the camera sensor to sense it. The illumination from the flash not only affects the exposure, it also alters the white-balance in the image and affects the quality of light making the subject look dull and flat. Overriding the camera modes helps you use the natural light. However be careful of long exposure durations which can induce motion blur in insufficient ambient light (use a tripod to stabilize the camera).
-
Manually Adjust The Flash
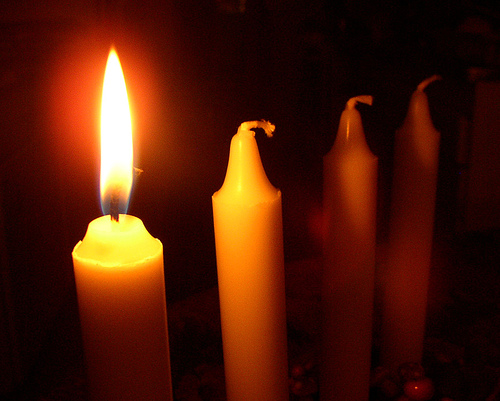
Set your camera to manual mode and adjust the amount of flash manually. This way you can ensure that the frame is filled with proper exposure and required details. It is the best way to compensate for the dominating effect of some other light source; the campus-fire in the center of a dancing group or a candle on the birthday cake. If you leave the camera to its own settings and calculations, it will produce scattered effect of light from candle or campus-fire.
-
When To Avoid Flash
Flash is an effective source of light. There are certain circumstances when it fails to serve the purpose of being an effective light source. You should consider avoiding the flash when:
- Shooting Sources Of Light: Avoid using flash when photographing lights. The intensity of the lights is pretty tricky for the camera to measure and is mostly sufficient to get you good results when using a tripod.
- Shooting Far Off Subjects: The range of flash is limited to 3-5 m approximately. It hardly makes a difference when shooting the setting sun, moon at night, sky filled with stars or other far-off and distant subjects. It accounts for battery power and may produce reflections of interfering objects; thus disrupting the composition.
Getting good flash photographs is tricky and requires some experience in understanding its effects and side-effects. Proper use of flash not only equips you with an efficient tool but also gets you excellent results.


