Photography is an art of making the images; either in-camera or off-camera. While playing around with in-camera settings is a good excercise to get great results, going off-camera is equally rewarding. In fact, post processing the images expands your creative horizons. Putting it other way round, adding a little bit of “post” dust goes a long way in turning your photographs to great pieces of artwork. This is what Photoshop masters bet all the time. Dave Cross, the Photoshop trainer at Kelby Training for instance puts forth his commentary for using Photoshop for adding finishing touches:
Take your photography from “Whoa!” to “WOW!” Learn today’s hottest techniques used by top creative pros to add jaw-dropping finishing touches to your photographs. Learn to create stylistic edge effects, HDR effects, vignette effects, editable templates, and many other creative finishing touches that will take your photography to a whole new level!
Post processing techniques are a great way to make your pictures pop! Here are 5 such techniques which pros use for creating mood and drawing the viewer’s attention to the point-of-interest.
-
Draw Viewer’s Eye With Vignetting Effect
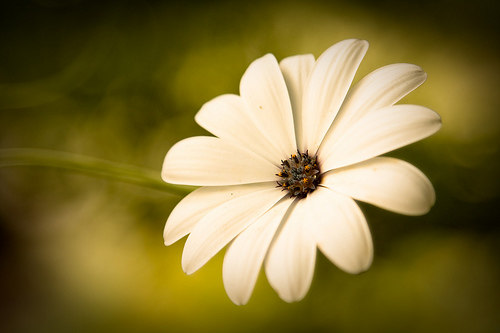
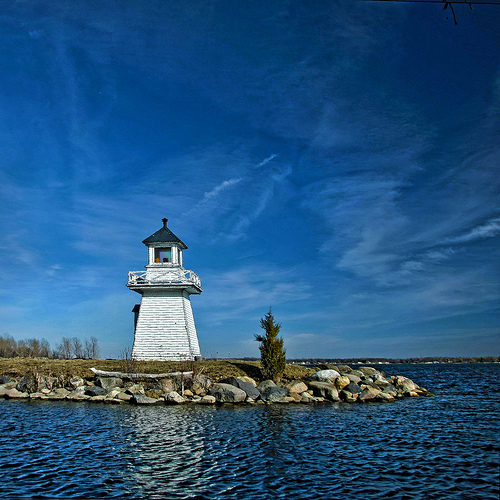
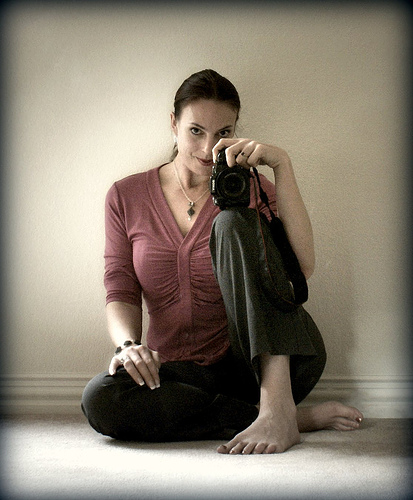
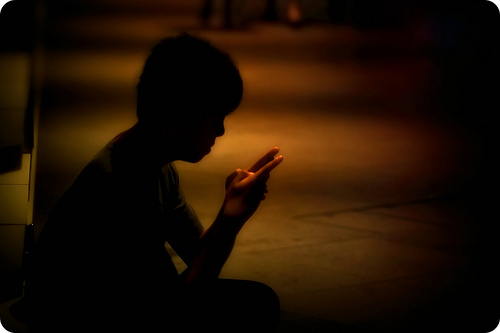
Sometimes lens defects make up for amazing image effects. One can easily count on these surprise effects like lens flare, distortions and vignetting for amazing photographs. Especially vignetting is very appealing. Some people just fall in love with it and re-create the vignetting effect in post-processing phase. Intentionally darkening or blurring the edges of the image acts as a frame to draw the viewer’s eye to the center of interest. It adds atmosphere and depth to the image. Just like edge burning, vignetting is also an effective technique for strengthening the composition of the photograph. Here’s the tutorial elaborating the technique of reproducing vignetting effect in Lightroom and Photoshop.
-
Introduce Tonal Congruence With Dodging & Burning
Dodging and burning is a darkroom technique used for manipulating the exposure of selected areas in a photograph. While dodging increases the exposure for areas of the image that the photographer wishes to be lighter, burning darkens the specific areas within a photograph. Dodging and burning affects the local contrast of the image and thus enble you to creatively add depth and dimension to your images. It adds life and vibrancy to the images. Play around with Photoshop dodge and burn tool for lightening and darkening the specific areas respectively.
-
Add Noise & Grain For Nostalgic Feel
Post-processing opens up a plethora of opportunities to play with various effects and create mood. Adding grain is one such effect. It adds classic appeal and nostalgic feel to the photographs. While you can add grainy effect to your pictures by shooting them at high ISO, inducing the grainy effect in post-processing allows you finer control over the levels, quality and feel of the effect. Check out this easy to follow tutorial for adding natural film grain in Photoshop.
-
Create Mood With Diffuse glow
Diffuse glow is a smart option to paint your subject with light. Photoshop filter diffuse glow adds smooth, soft and dreamy look, especially suitable for making flawlessly beautiful portrait photographs. But that’s not it! You can creatively apply diffuse glow in Photoshop as a combination of blurs, layer blend modes, and blending techniques. Check out this tutorial on Luminous landscape for adding a diffuse glow to your images.
-
Use Gaussian Blur Overlay For Dreamy Effect
As the name suggests, Gaussian Blur Overlay is the post-processing technique used for smoothly blurring the image to get sharp yet soft focus. The Gaussian Blur Overlay technique darkens the shadow areas and softens the highlights to smoothly boost the contrast of the image; to give it a hazy dream like effect. On the other hand you can also use this technique for intensifying and saturating the colors.
Here are three simple steps to apply this technique in your post-processing workflow.
- Open the image in Photoshop and duplicate the layer by pressing Ctrl+J.
- Apply Guassian Blur filter. Go to Filter > Blur > Gaussian Blur. Adjust the Radius while previewing the result to arrive at the sweet spot.
- Change the layer blending mode from Normal to Overlay and reduce the opacity of the layer to bring in desired tone and effect.
How do you sprinkle the post-dust magic to your photographs? Share your techniques in comments.

