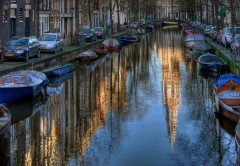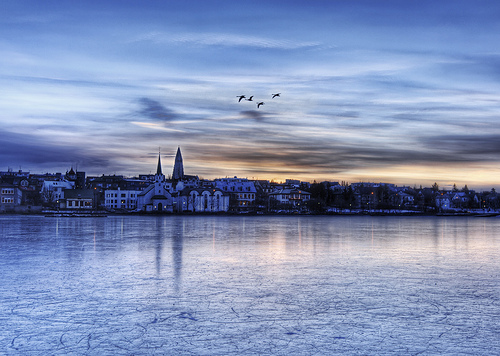
Realistic HDRs! Sounds like a marketing gimmick for an image editor. Right! Hey wait a minute, go through these examples of natural looking HDRs. Now, it makes sense! Even HDRs can be created in such a way that they replicate the effect of a single exposure; i.e. no evidence of merging like false colors and dramatic effects. Well, it needs a lot of practice, hard work and time to invest on various HDR techniques like tone-mapping, exposure blending and so on. And for all this, it requires you to be calculative and artistic in your approach.
Getting those natural colors, exact details and realistic appeal in HDRs comes with mastering the art of HDRs. Over time, the masters of HDRs have adopted various techniques to make the magic happen; to turn their bracketed shots into real HDRs or HDR masterpieces. Amongst other HDR photographers like Rob Hanson, Chris Robinson, Malcolm MacGregor and so on, Trey Ratcliff, the Stuck in Customs fame finds a special mention. Check out Stuck in Customs’s photostream to have an idea about what I am saying. Also check out his HDR tutorial to begin smart with HDR photography.
And for now let’s check out two simple steps for creating natural looking HDRs.
-
Bracket The Shots
Let’s start with a brief primer for HDR. HDR (High Dynamic Range) is a set of techniques that allows a greater dynamic range between the lightest and darkest areas of an image than current standard digital imaging techniques or photographic methods. It requires merging of three shots taken at different exposures — one normal, one underexposed and one overexposed, for midtones, highlights and shadows respectively. The Auto Exposure Bracketing feature of your DSLR is good at producing images with varying exposures. Just turn it on and take three (or more) successive shots of the same scene. Depending on the camera’s settings, one of the shots will be shot at normal exposure and the other two with +2 EV and -2 EV respectively. You can however change the bracketing settings to take more than three shots in bracketing mode and also specify the exposure compensation for sucessive shots. This is known as bracketing.
-
Merge The Photographs
Once you have loaded the bracketed shots to your PC, you are all set to roll in action. You can use Photoshop CS5 or Photomatix Pro to get started with merging the bracketed shots to result in a single image representing the range of intensity levels found in real scenes. We will be using Photoshop CS5 for creating the composite HDR image through Photoshop’s command Merge to HDR pro.
- Go to File > Automate > Merge to HDR Pro. Choose the bracketed shots — normal, overexposed and underexposed. You can get the sample images here — normal, overexposed and underexposed. Click OK to merge the exposure of the three shots.
- Photoshop will smartly create an HDR image by merge the loaded photographs. However, this intelligent automation gives a surreal looking image with fake and dull colors.
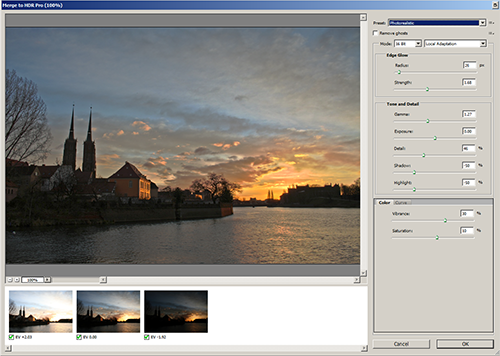
- Merge to HDR pro however gives you several options to fine-tune the resulting image. Just play around with the various options to arrive at the desired result. You can either use the presets or customize the settings to saturate the colors and thus simulate the real-life colors. The settings however vary for different images. For instance, the images used for this tutorial can be fine-tuned by applying Photorealistic preset. You can manually fine-tune tones, details, edge glow, colors and curves as well.

Merge To HDR Pro - Photorealistic Preset
Creating natural looking high dynamic range images is nothing but an art — the art of adding realistic appeal to surreal looking HDR images. There are number of ways and techniques to create realistic HDRs. Watch this space for more realsitic HDR techniques. Meanwhile you can share your HDR techniques and beautiful HDR images in comments.


I use LR4(I’ve been using it since the beta), Photomatix Pro and PS CS5.5…depending on what I am working on. I don’t think that any one tool can do it all- each has strengths and weaknesses- it’s a question of picking what works best in the situation.