
Photographers are creative beings. From time to time, they employ their imaginative skills to bring all that difference to real world captures — to make the shots more dramatic, mysterious, dreamy, hazy or soothing. The photographer’s keen interest to eye the world through the camera’s viewfinder acts as the inspiration for creating mood in the photograph. At times deliberately introducing the noise lets them portray lonliness while at other times employing selective focus gives them an edge to add depth to the scene.
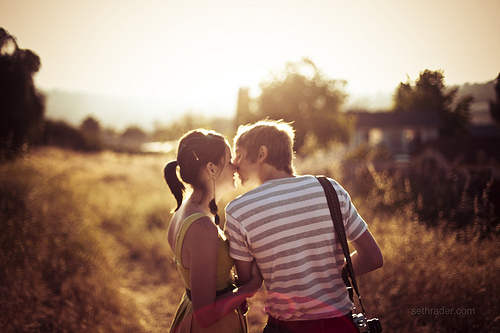
Talking of various photographic effects, how about creating a feel of romanticism and mystery in the photograph. This is what artistic lens flare adds to your photograph — the early morning feel, the dreamy, hazy look and “love is in the air” effect which truly make the captures the magical moments.
While strolling my way through various photography websites, I came across Melissa Jill’s article titled Behind The Image: Flare. What a wonderful wedding portraiture! Lovely pose, essence of red, warmth of love and romantic appeal adds drama to the scene. But what exactly makes this snapshot pop is the magical light streaks and lens flare rings that act as the blessing for the shot and for the newly wedded couple as well :). Woo! I am all over falling in love with wonderous, mysterious and magical lens flare. Want to give it a try! Here are 7 simple steps (along with photographer’s commentary) to spice up your photographs with the artistic lens flare.
Before heading on to applying the technique, let’s dig a little as to what the lens flare is and how it happens. Once you understand the simple theory behind the lens flare, it’s your pick — you use it to your advantage (like pro photographers) or completely ignore it to get crystal clear and sharp image. Here we look at the technical aspect of the lens flare.
Lens Flare — Technical Overview
As a general scenario, the camera lens consists of a number of lens elements. When capturing the image, the light passes through the lens, travels its intended path, reaches the image sensor and makes the impression.
Lens flare however is created when the non-image forming light enters the lens. Instead of traveling through its intended path, the light reflects internally on lens element a number of times before finally reaching the image sensor. This reflected light produces an artifact called the lens flare — an optical defect which manifests as starbursts, polygonal rings or circlular discs.
The lens flare is often an undesirable effect that lowers down the overall contrast of the scene by producing bright streaks of light and a washed out look. Photographers however have successfully employed lens flares for creating striking images. Check out for yourself! Follow the steps below and make the difference to your photographs with The Lens Flare.
7 Steps To Get Creative With Artistic Lens Flare
-
Shoot Into The Sun
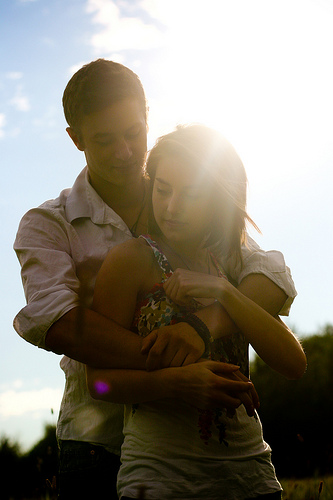
Natural light at its best; the lens flare can be easily achieved by shooting in the sun. Let the sun’s rays hit the camera lens at an angle such, that the light reflects internally instead of reaching the sensor directly. This reflected light lets the magic happen. You can also shoot indoors and utilize the window light for the ethereal look. Check out how Nathan Schroder accomplished the shot where his model was bathed in a burst of detail erasing light and yet made an impression with flare and flair — Tips From A Pro: Using Lens Flare To Your Advantage.
-
Partially Block The Light Source
Shooting against the sun (or any source of light) is perhaps the most important requirement for creating lens flare. You can however creatively employ the lighting effects by partially blocking the light source as Melissa Jill has done for this shot. She has used the building for blocking part of the sun, so as to give a sense of streaming light and save the image from a complete wash out.
-
Turn On The Manual Mode
Shooting in light is quite challenging and tricky. While you do so, your camera plays smart tricks. Assessing the brightness of the overall scene, your camera will try to compensate for bright light and will thus under-expose the subject. Manual mode will come in handy for properly exposing the subject.
-
Aperture Settings
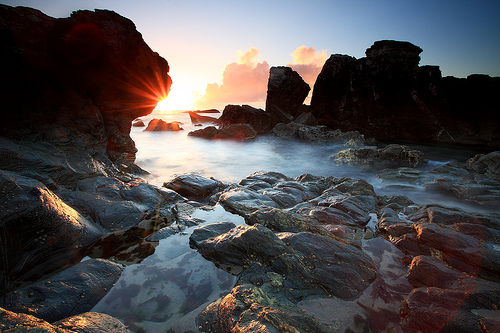
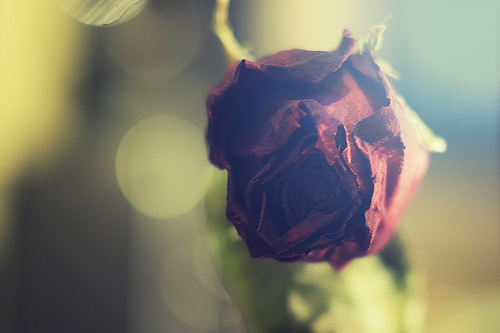
The appearance of the lens flare changes with the aperture settings. Narrowing down the aperture allows you to create complimentary lens flares with sun-star effect, shooting with the wide open aperture on the other hand smoothens the background details to highlight the dreamy, hazy effect. This image represents the combo — Shooting In Sun + Shallow DOF = Selective Focus + Dreamy Effect + Lens Flare = An Amazing Shot.
-
Switch To Manual Focus
When in auto-focus mode the camera will try to focus the object best lit in your frame; i.e, background in this case. Thus switching from auto-focus to manual will enable you to properly focus on your subject.
-
Take A Lot Of Shots
Even though you try to delibrately create the lens flares, it has an element of surprise to it. You cannot make out what you are about to get on the frame when shooting with sun in your eyes. Also the appearance of the lens flare depends a lot on your position, aperture settings and the angle of light hitting the lens. Taking a lot of shots guarantees that you will probably have some awesome lens flares in your collection.
-
Sprinkle The Post Magic
And now it’s time to polish your images. Lens flare magic brings along with it the lower overall contrast curse and detail-erasing light which can be controlled to an extent by post-processing tweaks. Fine-tune the contrast and play around with the recovery sliders to give final finishing touches to your wonderous lens flare image.
And now it’s your turn to step up and try out creative and artistic lens flare magic. While you do so, don’t forget to share your lens flare images and shooting experience with us.



Thanks for this post! I never thought to use manual focus when using the sun for a gorgeous flare.. I can’t wait to get out and try that! Awesome!